Back to all news

If you are a Data Engineer or learning how to become one, you have probably already found many articles explaining how to build a data pipeline. It’s fundamental knowledge for every Data Engineer (or aspiring ones). So why am I writing this article?
Being co-founder and program coordinator of Code Academy Berlin, a Berlin-based bootcamp that trains aspiring data engineers, I wanted our students to make a project in which they would have to build a data pipeline.
Obviously my first thought was to use Amazon Web Services Lambda functions or Google Cloud functions, as most companies are using their services to build their pipelines. With both of them you need to follow specific steps, therefore the content I wrote for our students first focused on the concepts and only later on the implementation. For the implementation part I opted for AWS as I was more familiar with it. The process was simple; you write the code, you test it locally and then you upload it on AWS Lambda. You add a trigger and that’s done. But here’s the catch. Before being able to do that, both AWS and Google Cloud ask you for credit card details. That’s fair- you’re using their services and if you exceed the free quota (that for personal projects is more than enough), they will charge you. One day, a couple of our students came to me saying that they didn’t have / didn’t want to give AWS or Google Cloud their credit card details for a small personal project.
So I started searching online for examples of cloud functions without AWS or GC and found almost nothing.
After days of searching, I decided to start from scratch and instead of having the traditional approach of using only one platform that gives you all the services you may need, I tried to find different free services and combine them.
The result is a "patched" data pipeline that is definitely not suitable for big projects or companies, but that it works great for personal projects and serves perfectly the educational purpose it was intended for.
What is a Data Pipeline
Data Pipelines are everywhere around us. The name may seem intimidating, but in essence it means to move raw data from one place to another in an automated way. A data pipeline could be schematized as follows:
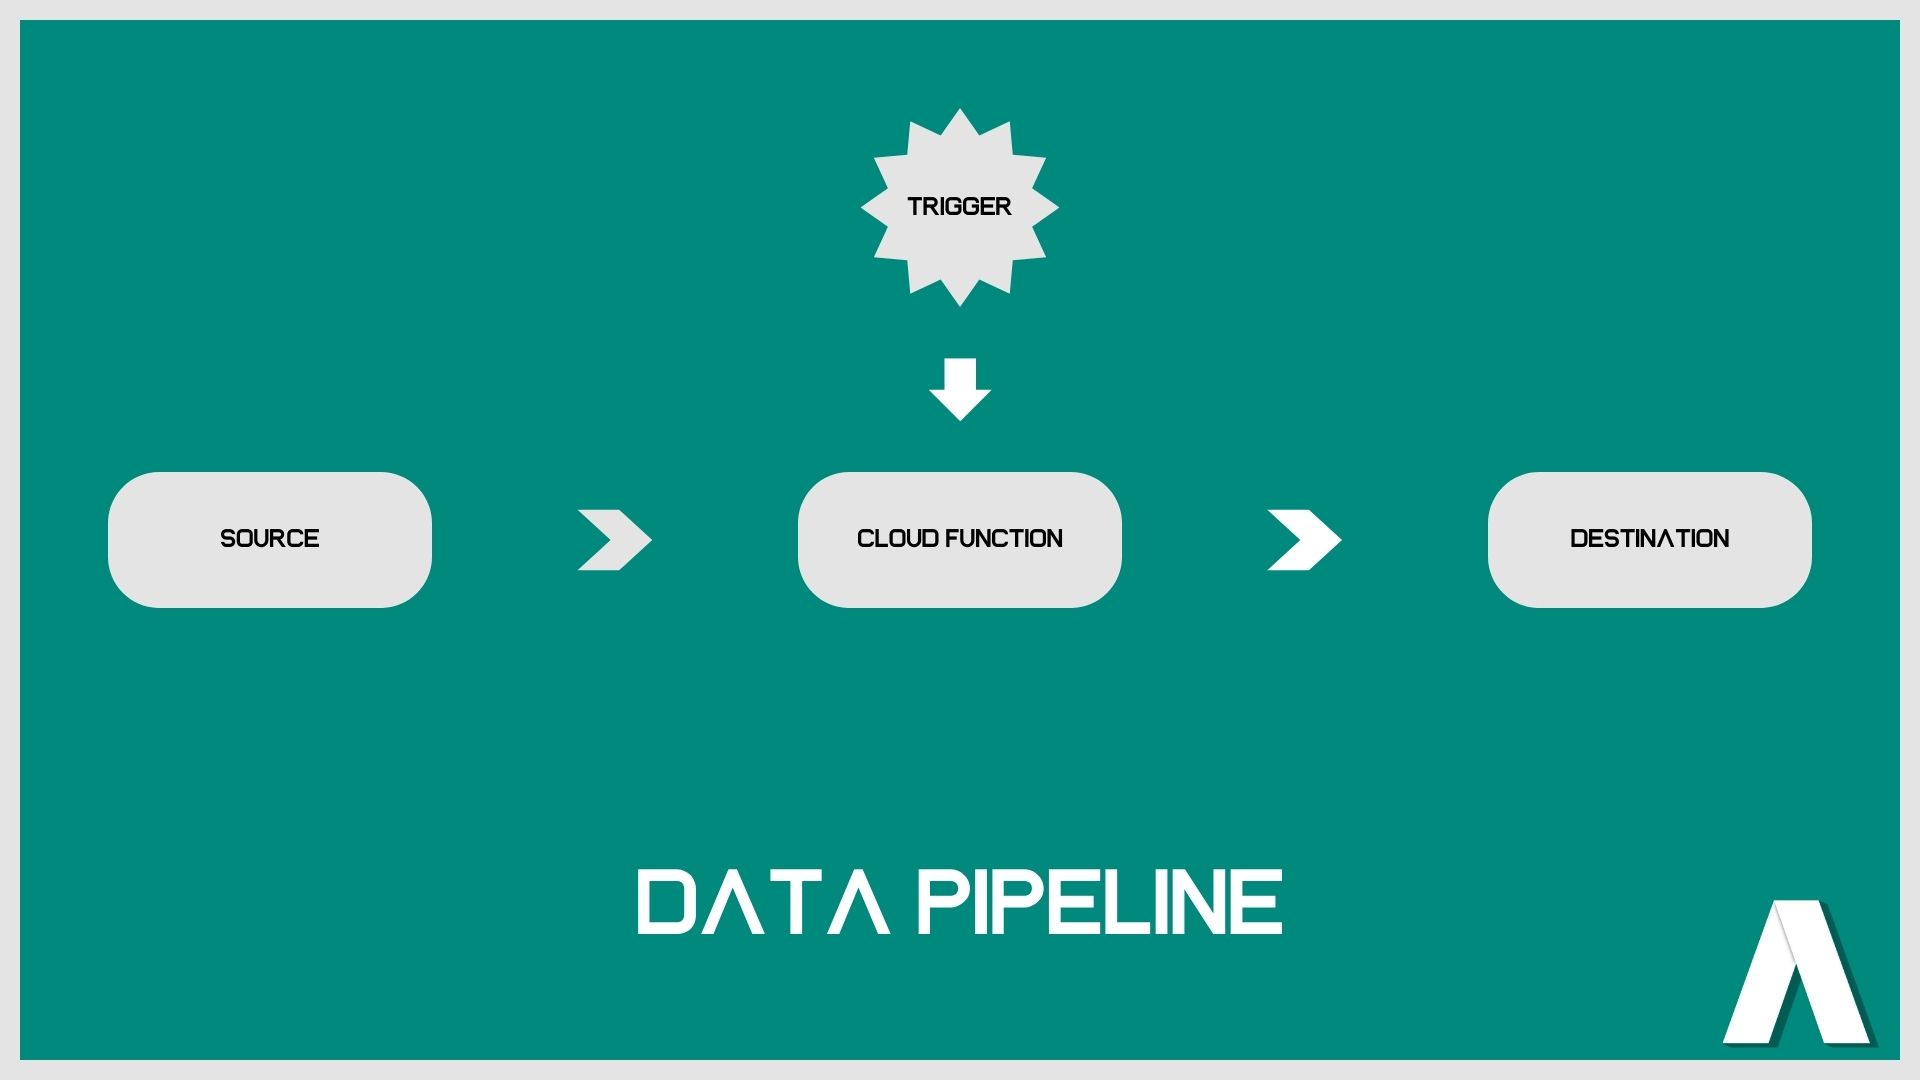
Let’s talk about each element of the data pipeline at a time.
Source
The source is where we take the data from. It can be another database, an API (Application Programming Interface, a software intermediary that allows two applications to talk to each other) or the result of web scraping (taking data from a web page). Here we will use a free API. Each time you use an app like Facebook, send an instant message, or check the weather on your phone, you’re using an API.
Cloud Function
A cloud function is a function that is being programmed for a single purpose. It is then hosted and maintained by a cloud computing company. The most famous and used cloud computing companies are AWS and Google Cloud.
Destination
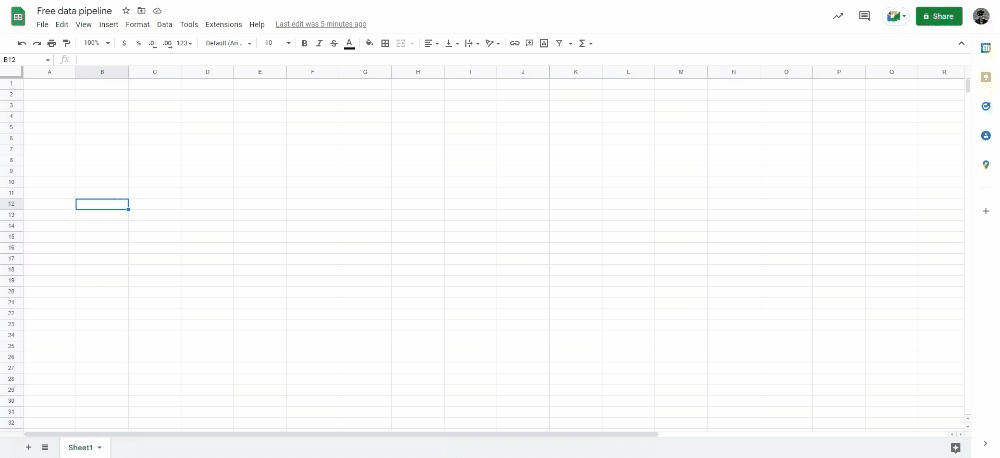
The destination is usually a database. But it can also be a CSV (Comma-separated values) file or a Google Spreadsheet. Here we will use a Google Spreadsheet.
Trigger
The trigger is an event that occurs and that triggers the cloud function. It can be user-based (i.e, the user of an app/website clicks a specific button) or time based (when we want to trigger the cloud function; a specific time and date, or with a time-based occurrence, i.e every day at 9am).
The completely free data pipeline
My first step was to turn to all the platforms that offer free front-end deployment. I knew Netlify offered the possibility of writing cloud functions, however it didn’t support Python at the time. So I found Vercel, which has similar functionality to Netlify, and supports Python language.
Vercel is a platform for deploying static websites, therefore the end result is a url. When opening that url, you can trigger a Cloud function. Great, but what about the trigger? I didn’t want our students to have to manually open a url in order to trigger a function. They could as well have run their code locally.
So here is when I remembered that Google Spreadsheet gives you the possibility to write a script using their free Apps Script extension. Is a cloud-based JavaScript platform that lets you integrate with and automate tasks across Google products. Perfect, so after deploying the Cloud function on a specific url address, I could make a request to that address using Google Apps Script from the very same Google Spreadsheet where I would save the results of my API request and automate everything using their time-based triggers.
So to summarise the completely free Data Pipeline in a schema:
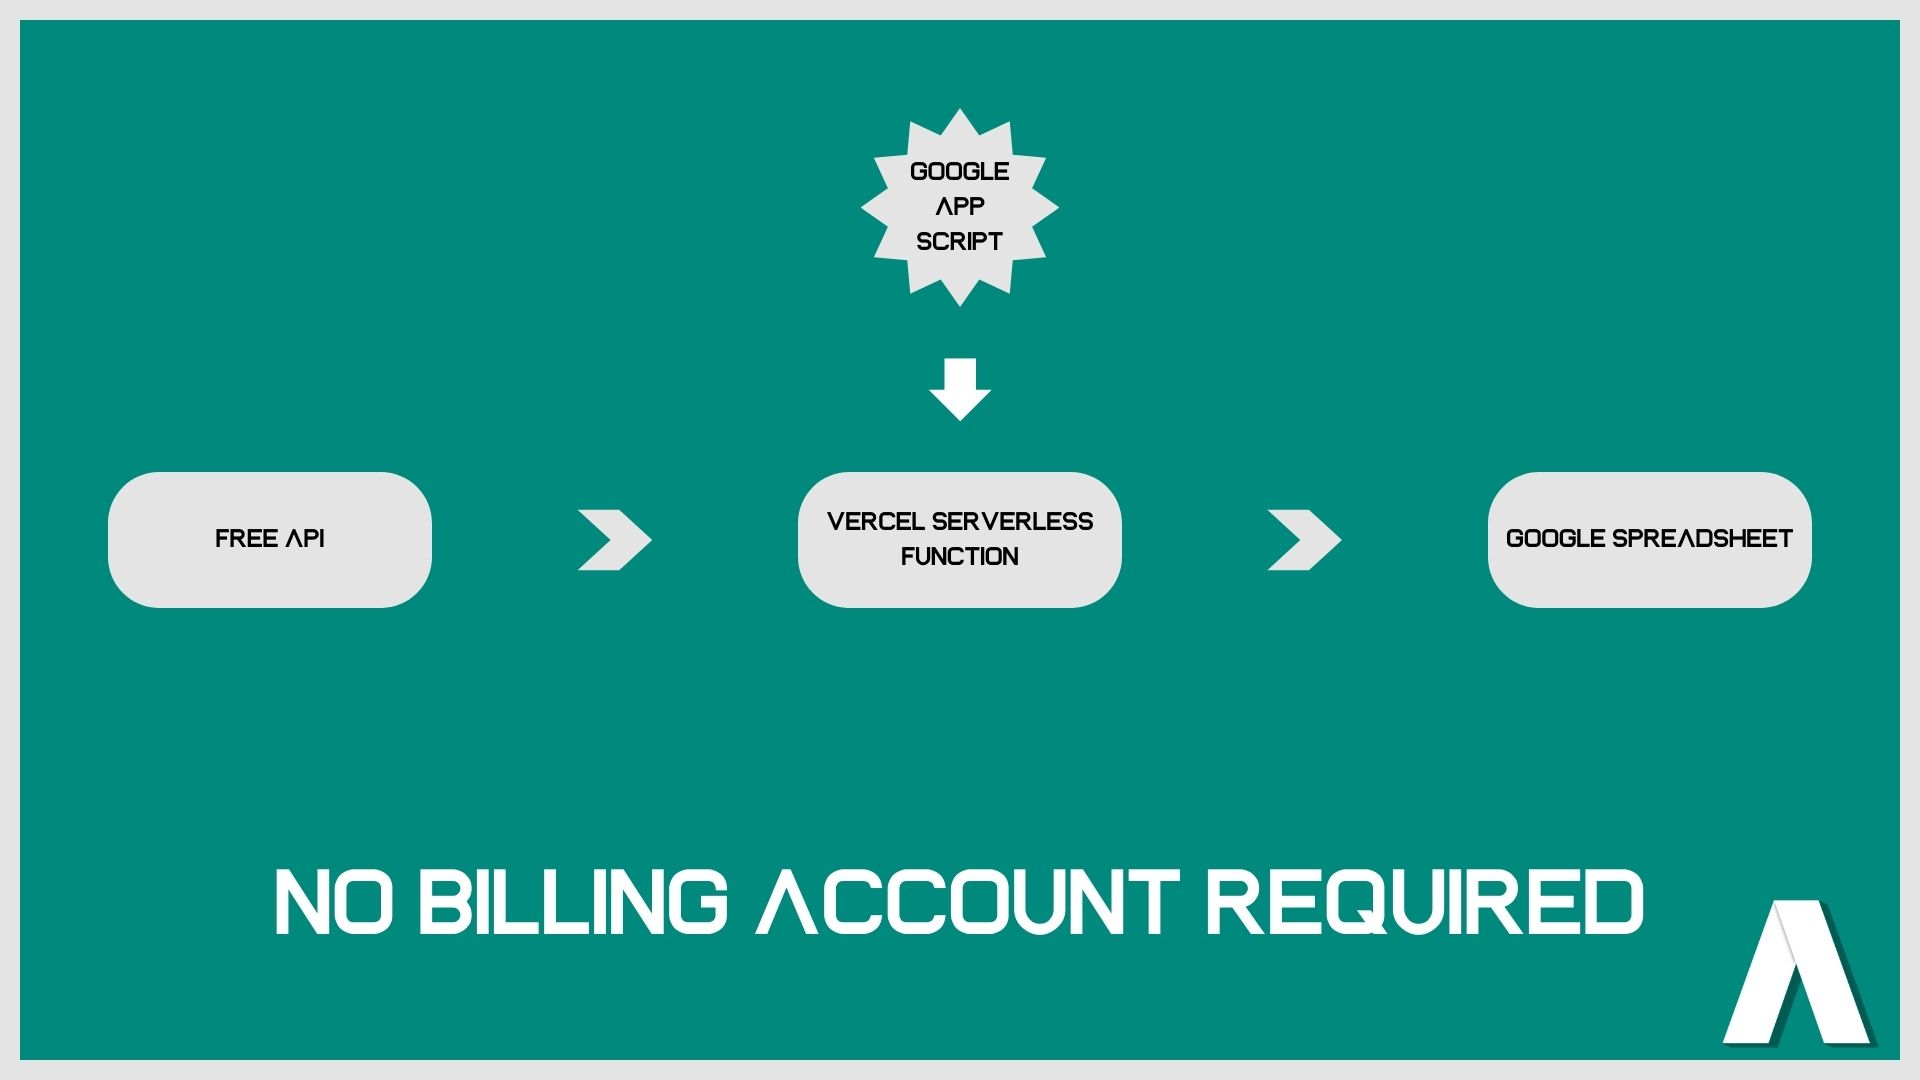
Obviously in order to be able to create this pipeline, you’ll still need a Google Cloud account, create a project there and authorise a lot of things, but since you’re not using their Cloud Functions service, you will not need to give your credit card credentials.
Implementation
Write the code
Install the following libraries:
- google-api-python-client
- google-auth-httplib2
- google-auth-oauthlib
- urllib3
The first three are necessary to interact with the Google API, the last to make a generic API request.
Let’s start by deciding on a free API to take the data from. In this example I will use the IEX Cloud API to get information about stock market prices. First of all you’ll need to sign up and get an API Token. Since we will be using only the free API endpoints, we can safely use the public API token, which can be published in places like your JavaScript / Python code and therefore your GitHub. However, for the sake of the article, I will explain how to store it in what we call environmental variables. While this is an optional step for this project, it is critical when using private API tokens.
An environmental variable is a variable whose value is set outside the program, typically through functionality built into the operating system or microservice. An environmental variable is made up of a name/value pair, and any number may be created and available for reference at a point in time.
We can set-up our development environmental variable on our laptop and call that specific variable at compilation time. We can also set them on the cloud provider of our choice.
Create a file called main.py and paste the following code:
import urllib3
import json
import os

def get_data_lambda():
    print(os.environ.get("API_KEY"))
    http = urllib3.PoolManager()
    url = "https://cloud.iexapis.com/stable/stock/tsla/previous?token=" + os.environ.get("API_KEY")
    resp = http.request("GET", url)
    values = json.loads(resp.data)
    print(values)
    return values
get_data_lambda()
This function will print the environmental variable that we will set in a moment and then make a request call to the IEX Cloud API asking for information about the previous day stock prices for Tesla.
Open your computer terminal, move to the location of the main.py file and run these two commands:
For Windows:
set API_KEY=<your api key here>
For Mac:
export API_KEY=<your api key here>
And then:
py main.py
You should see in your computer terminal first the environment variable, then the values coming from the API.
Nice, the first step is done. You can now get data from an external API and return them. The next step will be to store them on a Google Spreadsheet.
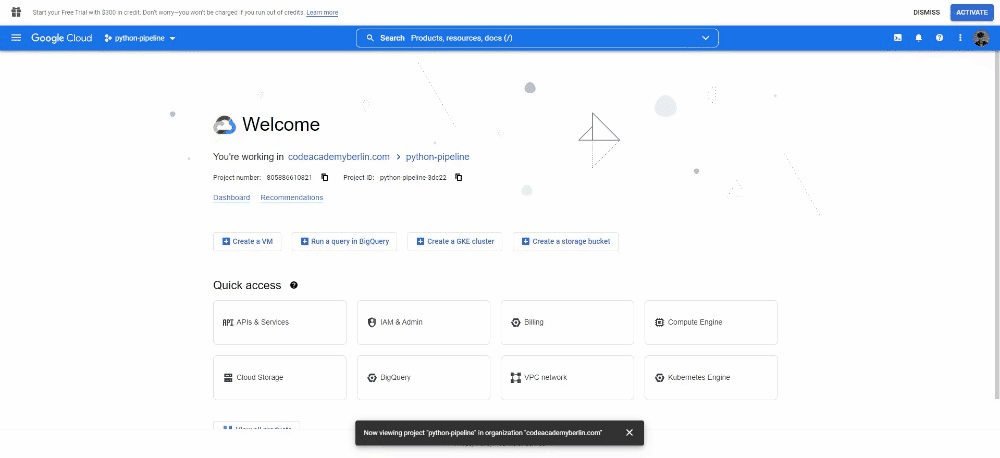
Open your Google Cloud console by opening the link and clicking on Console.
Create a new project and open the new project’s dashboard.
Under APIs and Services, open the Credentials tab and create Service account credentials.
Once it’s been created, open it by clicking on it and under KEY click on ADD KEY. Select JSON as key type. This will download a file, copy this file and paste it into your projects folder (change the name of the file into something shorter too).
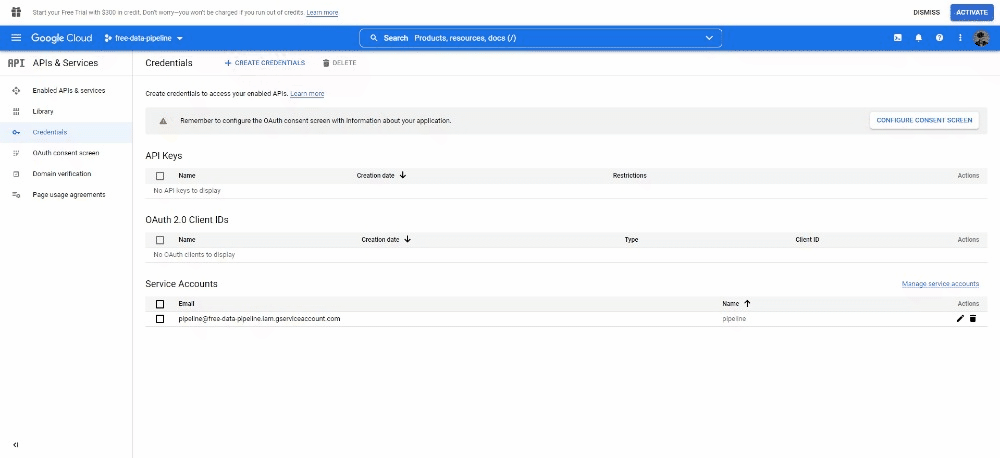
Copy the service account email, create a new Google Spreadsheet file and add it to the sharing settings.

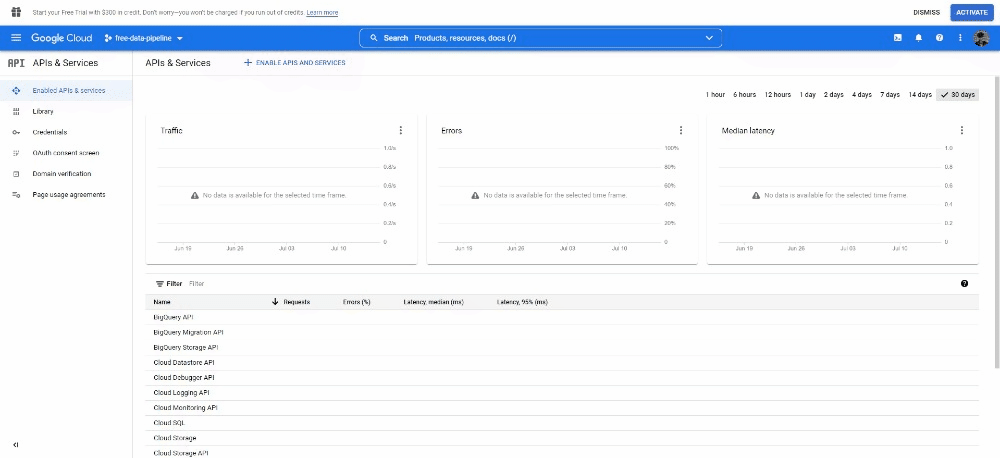
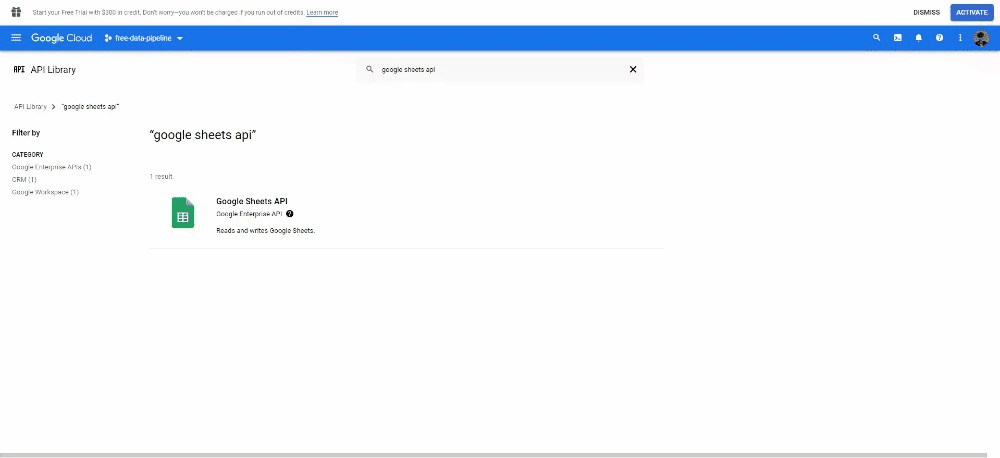
Now under the APIs and Services tab, click on Enable API and Services, search for Google Sheets API and enable it.
Now we can write the code to write in our Google Spreadsheet:
from google.oauth2 import service_account
from apiclient import discovery

SCOPES = ['https://www.googleapis.com/auth/spreadsheets']
SAMPLE_SPREADSHEET_ID = '<YOUR_SPREADSHEET_ID>'
SAMPLE_RANGE_NAME = 'A1:AA1000'

def Export_Data_To_Sheets():

    credentials = service_account.Credentials.from_service_account_file(
        "<path_to_to_your_service_account_file.json>", scopes=SCOPES)
    service = discovery.build('sheets', 'v4', credentials=credentials)
    values = get_data_lambda()
    values_list = list(values.values())
    final_list = []
    final_list.append(values_list)
    dict_me = dict(values=final_list)
    service.spreadsheets().values().append(
        spreadsheetId=SAMPLE_SPREADSHEET_ID ,
        valueInputOption='RAW',
        range=SAMPLE_RANGE_NAME,
        body=dict_me).execute()

    print('Sheet successfully Updated')


Export_Data_To_Sheets()
You will need to change the value of SAMPLE_SPREADSHEET_ID: remove everything inside the quotation (yes, the <> as well) and paste your spreadsheet id. You will find it in the url of your spreadsheet:
https://docs.google.com/spreadsheets/d/
1mSvR0Y_7GpbCKV1jZn6YgU8ddaFeGfwoDiBHm7ZpGmU
/edit#gid=1161341563, the ID is the bold text.
This function is connecting to the Google Spreadsheet using our Service account and then it’s appending a new row.
You file should look like this:
import urllib3
import json
import os
from google.oauth2 import service_account
from apiclient import discovery

def get_data_lambda():
http = urllib3.PoolManager()
url = "https://cloud.iexapis.com/stable/stock/tsla/previous?token=" + os.environ.get("API_KEY")
resp = http.request("GET", url)
values = json.loads(resp.data)
return values

SCOPES = ['https://www.googleapis.com/auth/spreadsheets']
SAMPLE_SPREADSHEET_ID = '<YOUR_SPREADSHEET_ID>'
SAMPLE_RANGE_NAME = 'A1:AA1000'

def Export_Data_To_Sheets():

    credentials = service_account.Credentials.from_service_account_file(
        "<path_to_to_your_service_account_file.json>", scopes=SCOPES)
    service = discovery.build('sheets', 'v4', credentials=credentials)
    values = get_data_lambda()
    values_list = list(values.values())
    final_list = []
    final_list.append(values_list)
    dict_me = dict(values=final_list)
    service.spreadsheets().values().append(
        spreadsheetId=SAMPLE_SPREADSHEET_ID ,
        valueInputOption='RAW',
        range=SAMPLE_RANGE_NAME,
        body=dict_me).execute()

    print('Sheet successfully Updated')


Export_Data_To_Sheets()
Run the file and check that all runs correctly. You should be able to see the new row in your Sheet file.
Reading from a Google Sheet works almost exactly the same way as writing to the sheet. As long as you have the SCOPES, SAMPLE_SPREADSHEET_ID, SAMPLE_RANGE_NAME, and "credentials" defined as above, you once again create the "service" variable and proceed as follows:
service = discovery.build('sheets', 'v4', credentials=credentials)

result = service.spreadsheets().values().get(
           spreadsheetId=SAMPLE_SPREADSHEET_ID, range=SAMPLE_RANGE_NAME).execute()
In short, you use the "get" command instead of the "append" command; create the "result" variable to save the data that you read from the Google Sheet.
Move it to the Cloud
For the same reasons we did not want to publish the API key of our IEX Cloud API, we do not want to publish the service account JSON file either.
Add a .gitignore file and write the name of your service account file. This will make sure Git will always ignore this file, it does not track it and mistakenly publish it on GitHub.
Create a folder and call it api, move your main.py inside.
Change the main.py file like so:
from http.server import BaseHTTPRequestHandler
from google.oauth2 import service_account
from apiclient import discovery
import urllib3
import json
import os

def get_data_lambda():
    http = urllib3.PoolManager()
    url = "https://cloud.iexapis.com/stable/stock/tsla/previous?token=" + os.environ.get("API_KEY")
    resp = http.request("GET", url)
    values = json.loads(resp.data)
    return values

SCOPES = ['https://www.googleapis.com/auth/spreadsheets']
SAMPLE_SPREADSHEET_ID = '<YOUR_SPREADSHEET_ID>'
SAMPLE_RANGE_NAME = 'A1:AA1000'

class handler(BaseHTTPRequestHandler):
    def do_GET(self):
        s = self.path
        self.send_response(200)
        self.send_header('Content-type', 'text/plain')
        self.end_headers()
        values = get_data_lambda()
        service_account_credentials = {
            "type": os.environ.get("TYPE"),
            "project_id": os.environ.get("PROJECT_ID"),
            "private_key_id": os.environ.get("PRIVATE_KEY_ID"),
            "private_key": os.environ.get("PRIVATE_KEY"),
            "client_email": os.environ.get("CLIENT_EMAIL"),
            "client_id": os.environ.get("CLIENT_ID"),
            "auth_uri": os.environ.get("AUTH_URI"),
            "token_uri": os.environ.get("TOKEN_URI"),
            "auth_provider_x509_cert_url": os.environ.get("AUTH_PROVIDER"),
            "client_x509_cert_url": os.environ.get("CLIENT_URL")
        }
        credentials = service_account.Credentials.from_service_account_info(
            service_account_credentials, scopes=SCOPES)
        service = discovery.build('sheets', 'v4', credentials=credentials)
        values_list = list(values.values())
        final_list = []
        final_list.append(values_list)
        dict_me = dict(values=final_list)
        service.spreadsheets().values().append(
            spreadsheetId=SAMPLE_SPREADSHEET_ID,
            valueInputOption='RAW',
            range=SAMPLE_RANGE_NAME,
            body=dict_me).execute()

        print('Sheet successfully Updated')
        return
Python files within the api directory, containing an handler variable that inherits from the BaseHTTPRequestHandler class or an app variable that exposes a WSGI or ASGI application, will be served as Cloud Functions (called Serverless functions in Vercel).
Create a requirements.txt file: this file will contain the name of all libraries that Vercel will have to install in order to run your function. It will look like this:
google-api-python-client
google-auth-httplib2
google-auth-oauthlib
urllib3
Push your code to GitHub, create a new account on Vercel and deploy your first project by importing a GitHub repository.
Go to the settings of your project and under Environment Variables, add the one for the API key and all the credentials for the service account. The names used in the Python file and the one used on Vercel need to correspond.
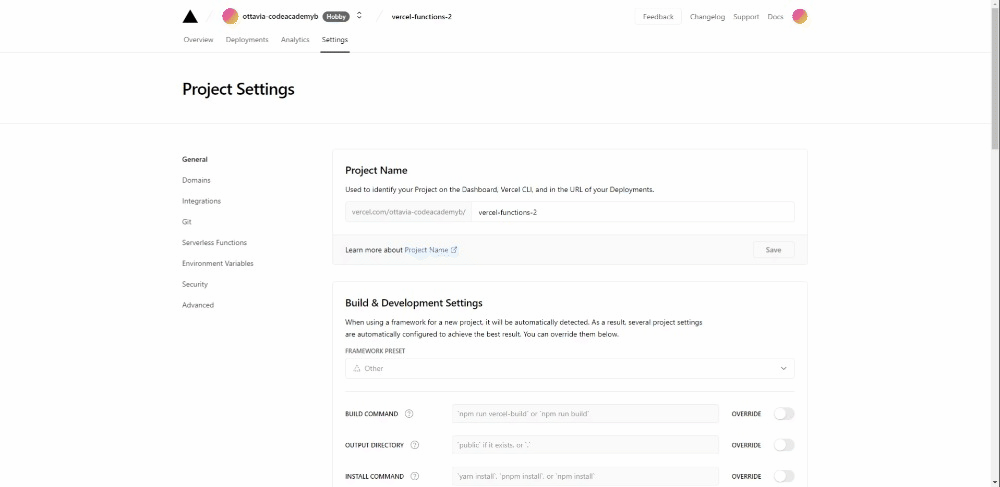
Once you are done, open the deployed link and add to the base url /api/main.
Opening this link should trigger your cloud function. You can check the Function Logs to see if there is any error. Also, check that a row has been added to your Google Spreadsheet.
Automate the process
Finally you have built a completely credit card free data pipeline! Only one thing is missing, the automation. As you might have noticed, we still need a human input (opening our browser to that specific address) to trigger the function.
Most Cloud Services providers offer you a Trigger service but Vercel does not, so we again need to be very creative and find an alternative.
Leveraging my experience running a coding academy with a low budget, I remembered creating a script using Google script to send automatic emails to our students to remind them about some deadlines. This last step requires a basic understanding of JavaScript but it will not be hard to understand.
Go to your Google Spreadsheet and under Extensions open Apps Script.
Google Apps Script is a cloud-based JavaScript platform that lets you integrate and automate tasks across Google products. It’s very powerful if your processes / data are based on Google Emails, Google Spreadsheets, Google Calendar and more.
In the Code.gs file, delete any content and paste these lines of code:
function invokeCloudFunction() {
  UrlFetchApp.fetch("<your-vercel-base-url>/api/main");
}
This function will simply make a request to that address, which we need to open in order to trigger the cloud function. Now, under Triggers, click on Add Trigger. Select the function you just added and change the Select event source to Time-driven.
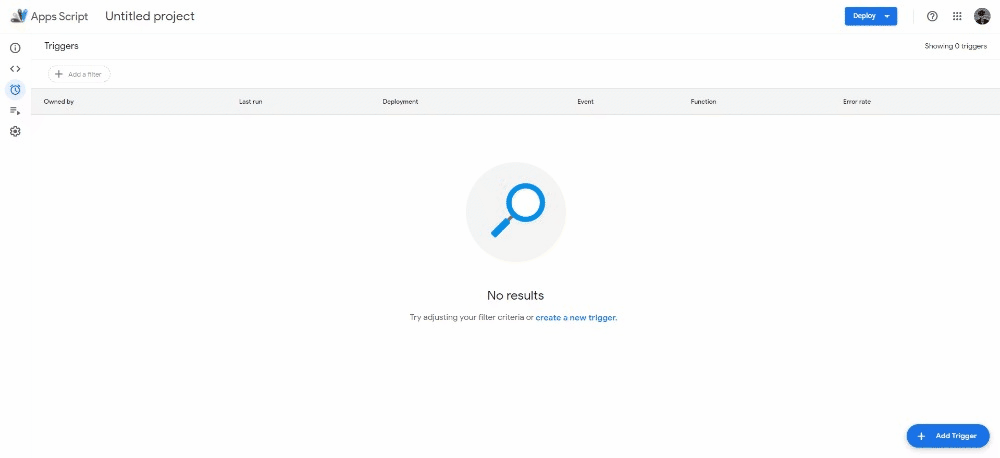
For testing purposes, select a Minutes timer that will run every minute. After checking that it works, change it to a Day timer and decide the time of day in which you want to trigger the function.
Conclusion
Cloud-based solutions are very popular for both businesses and end-users. One of these reasons is the pay-as-you-go model which is helpful especially for startups on a budget because this keeps the expense in line with the company growth. There’s no need to worry about investing in the upfront infrastructure costs like servers and software licences. They don’t have to worry about having an IT team in-house to handle the maintenance and repair of equipment. More specifically for Data Analysts, Data Scientists and Software Engineers, cloud computing has almost taken over the use of local servers.
As a trainer I can say that since there are a lot of different cloud services which work differently depending on the platform used, I found it very difficult to understand which one is the most popular in Berlin. Also, these technologies are changing so rapidly that I believe it's more important to understand the concept rather than the specific service, which might be replaced by something better in a few years. That is the reason why I created this small project; for those who don’t have the possibility to "play" with the big players but still want to learn the concepts of cloud computing. I believe once they will understand its intrinsic behaviour, they will be able to reproduce it using AWS, Google Cloud or create a "patched" version of these services as I did. Therefore I want to thank them for pushing me to think in a creative way and get to a solution I wasn’t thinking would be possible at first.